Company's Advertisement & Sponsorships
Sponsors have the opportunity to amplify their presence by placing advertisements in key areas of your event like overview banners and within session details.
Beyond advertisements, sponsors
can also be designated as specific sponsors for individual sessions of your
event.
Advertisements
Within the Advertisements tab of the Company section, you can easily add new ads for a company. The available ad types include Session, Overview, and Navigation.
-
Session Detail Advertisements:
These advertisements are perfect for gaining visibility within specific sessions. They can either cycle through a selection of sponsored session adverts or be exclusively dedicated to a single session sponsor. Session Detail Ads appear in the right-side column of the session pages.
The recommended dimensions are: Width: 300px; Height: 200px; or higher-resolution mantaining a 3:2 aspect ratio.
-
Overview Banner Advertisements:
These advertisements are prominently displayed on the event's main page. They dynamically cycle through sponsor logos, with their display prioritized based on the tier configuration you've set for each company. The image you upload for the ad will be the one shown in this banner.
-
Navigation Advertisements:
These advertisements appear as a cyclic display in the right-side column of the event platform, visible on pages other than the specific session pages.
The recommended dimensions are: Width: 300px; Height: 200px; or higher-resolution mantaining a 3:2 aspect ratio.
Creating Ads
You can create new ads for Exhibitors/Sponsors to be displayed in sessions, the overview, or the navigation section.
- From the Advertisement tab, click Create Ad.
- On the pop-up window, set the name and type (Session, Overview, Navigation), then click Create Ad.
- Once you have created the Ad, you will be able to edit the image.
- Click Save.
From the Ads list, you will be able to edit or delete ads if they are no longer needed.
Sponsored Sessions
You have the ability to add sponsorship for a specific session, allowing companies to gain visibility within relevant content.
- Click Add Session Sponsorship.
- Search for the session name you wish to sponsor.
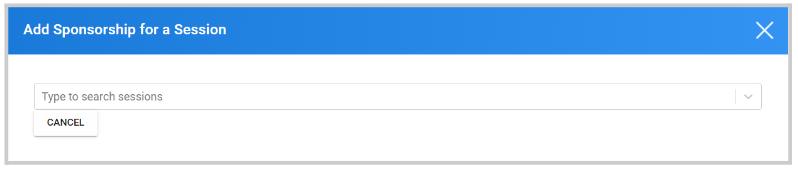
- You are then required to select a previously created Ad, set if it is Exclusive or not, and add any video Links available.
- Click Save.
From the sponsored sessions list, you can preview their exclusive setup and view details, as well as edit or delete them if no longer needed.
Sponsorship
The Sponsorship section provides a centralized hub where you can manage and
assign previously created advertisements for any of your event's companies.
These ads can be placed within specific sessions, or in
the Navigation and Overview sections of the event platform.
The typical workflow involves creating ads within each individual company's profile, and then, in the Sponsorship area, you select which of those ads to activate and where to display them.
Here's how to manage your sponsorships:
- From your desired event, click Companies.
- Click the Sponsorship Tab at the top.
-
You will see the available Ad types: Overview, Navigation, and Sessions.
Click Add Ads for Overview or Navigation, or click on a
session name to manage session-specific ads.
The General Sponsorship area is divided into three main sections:
-
Overview and Navigation Ads:
These two sections are similar in that they both display the number of currently active ads for their respective types. Each section features an "Edit Ads" button, allowing you to add more ads or deactivate existing ones for the Overview and Navigation sections of the event platform. - Session Sponsorship Opportunities:
This section lists all your event sessions with their relevant information. Selecting a session will bring up a pop-up window where you can add ads to that specific session. - From the pop-up window, first select the Sponsor you wish to update.
- Then select the Ad from that particular Sponsor, if the Ad is exclusive for the selected Session and include any video links.
- Click Save.
Related Articles
Connect with Speakers/Attendee(s)
From the Leads list you will have the option to chat with Speakers/Attendee(s). Navigate to the Company Portal then select Inbox Select View Profile Select CONNECT WITH USER's NAME button Type in the body of your message then select CONNECTEdit /Preview Company Page
When needing to view your Company page, it may be best to preview as the attendees. Navigate to the Company Portal section from the left panel and click Page. Please note, this is what the page will look like to administrators and attendees. Slide ...Add About Company Description
Navigate to the Company Portal Info from the left pane Type/Paste in "company" description in the Description field Scroll down to select SAVE before leaving page Below you will be provided with a sample of placement which is on the right pane for ...Company's Branding and Information
Each company section offers a comprehensive suite of tabs, allowing event administrators to effectively manage the branding and informational details for each participating company. These tabs include: General Info, Company Info, Company Site, ...Import Company from another Event
Sometimes, the same company can be part of more than one event. For this, you can easily import companies from other events. Go to Events, and click the desired event tile From the left panel, click Companies While on the Companies tab, click Import ...